Ombre brows healing process aren’t always glamorous — but knowing what’s normal makes the journey so much easier. Straight after your appointment, your brows will look bold and crisp, but over the next few weeks you’ll see scabbing, flaking, fading, and finally the soft, natural colour that stays.
At Cosmetic Tattoo Studio Brisbane, we have guided hundreds of clients through this process. With the right aftercare and a little patience, you’ll move past the patchy days and enjoy ombre brows that save you time and effort every morning.
Great brows aren’t made in one sitting — they’re revealed over time. The tattooing technique is only half the story; the way your skin heals determines how soft, even, and natural the colour settles. Think of it like hair colouring: the application is important, but what you do after the appointment makes the biggest difference to how it looks weeks later. That’s why we spend so much time on ombre brow aftercare tips with our Brisbane clients.
Table of Contents
What is the healing process of ombre eyebrows?
Treatments involving permanent makeup are typically deemed non-intrusive and inflict minimal physical trauma. Thus, there is almost no downtime to impede your regular activities.
However, given that the procedure disrupts the epidermis, some healing time is required for the skin.
The recuperative period for powder eyebrows encompasses the days and weeks after the powder eyebrow session. In this interval, your skin undergoes a healing process whereby the micro-injuries seal, the introduced pigments stabilize, and the final hue becomes apparent.
How long is the recovery time for ombre eyebrows?
The recuperation duration for ombre brows typically spans 4–6 weeks. This timeline can fluctuate based on the individual and is influenced by multiple factors. It’s common for some individuals to recover quicker than others. For instance, aging skin tends to require more time to heal.
You must consult your technician if your ombre eyebrows do not mend as anticipated and the micro-wounds persist. Comparing your healing process with pictures of other individuals’ healing stages can be informative.
The initial ten days post-procedure are critical for your well-being and the efficacy of the treatment. Hence, it’s vital to exercise caution during this time. Adhering to the aftercare regimen for ombre eyebrows is essential, and refraining from makeup application is recommended.
Subsequently, while you can be less stringent, abstaining from any activities your technician cautioned against remains essential.
Week-by-Week Ombre Brow Healing Stages
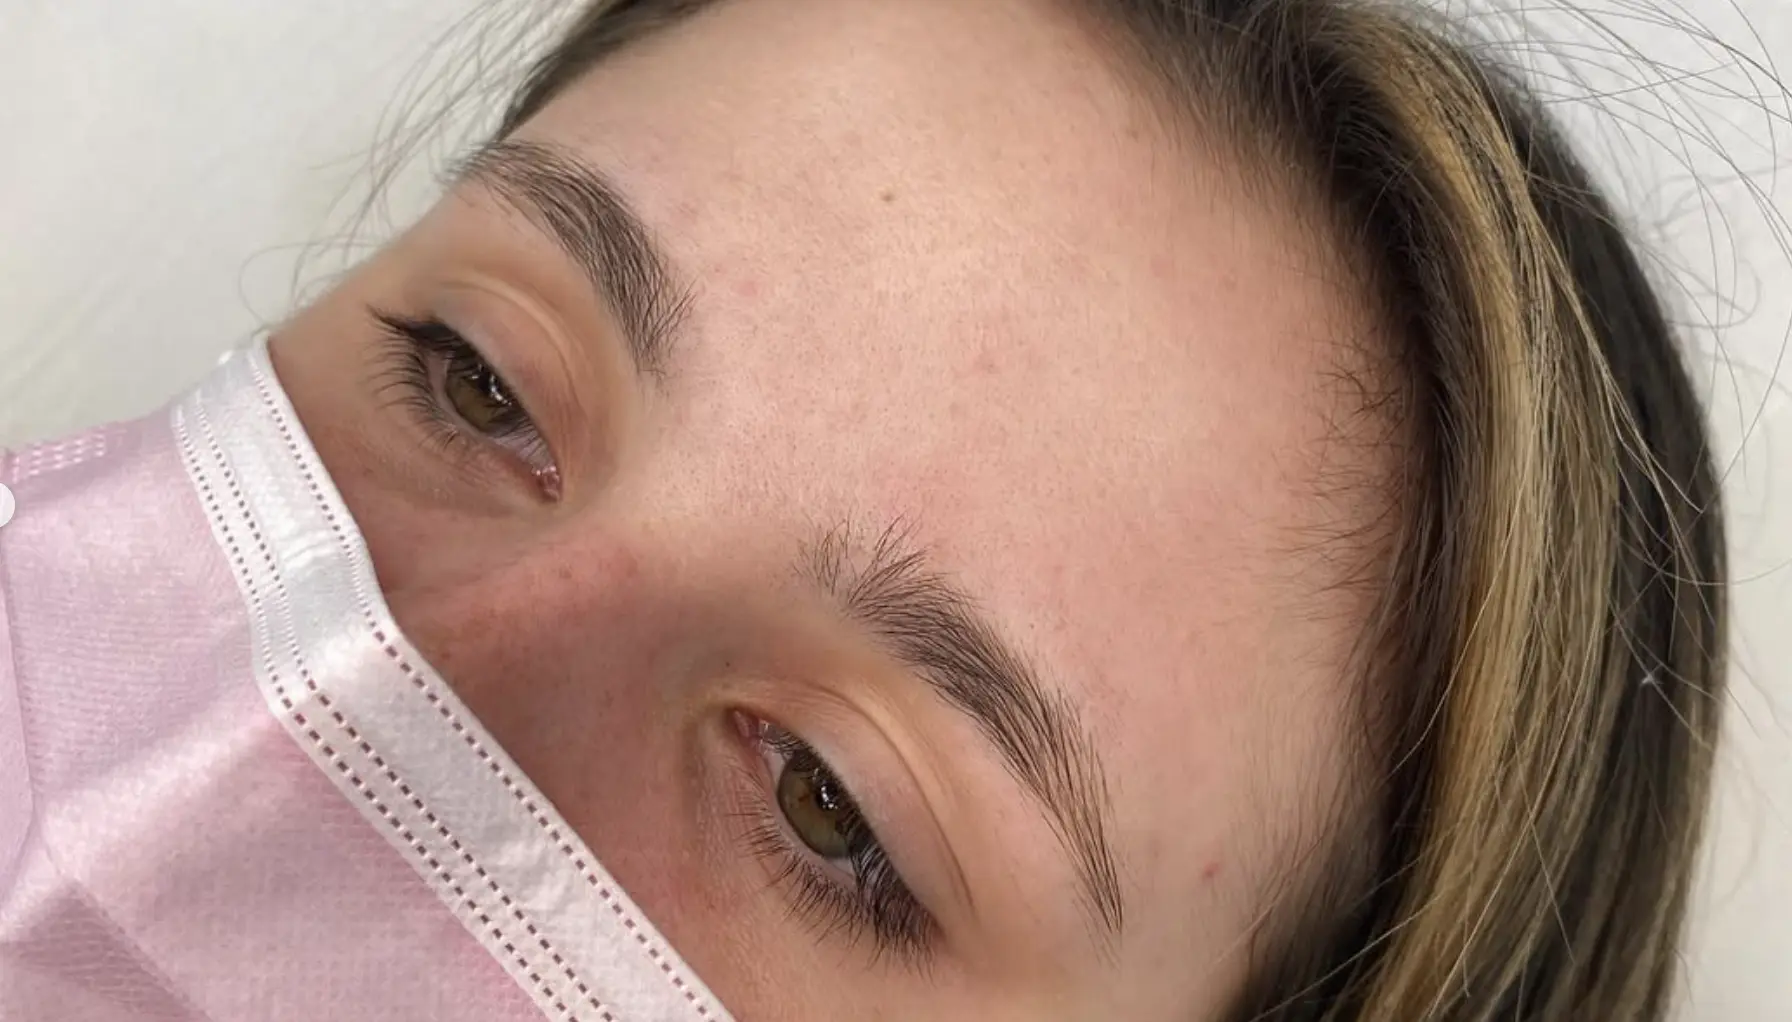
Your brows will look different every single day in the first few weeks. Here’s a realistic breakdown of what to expect.
Healing Stage
Timeline
What You’ll See
What to Do
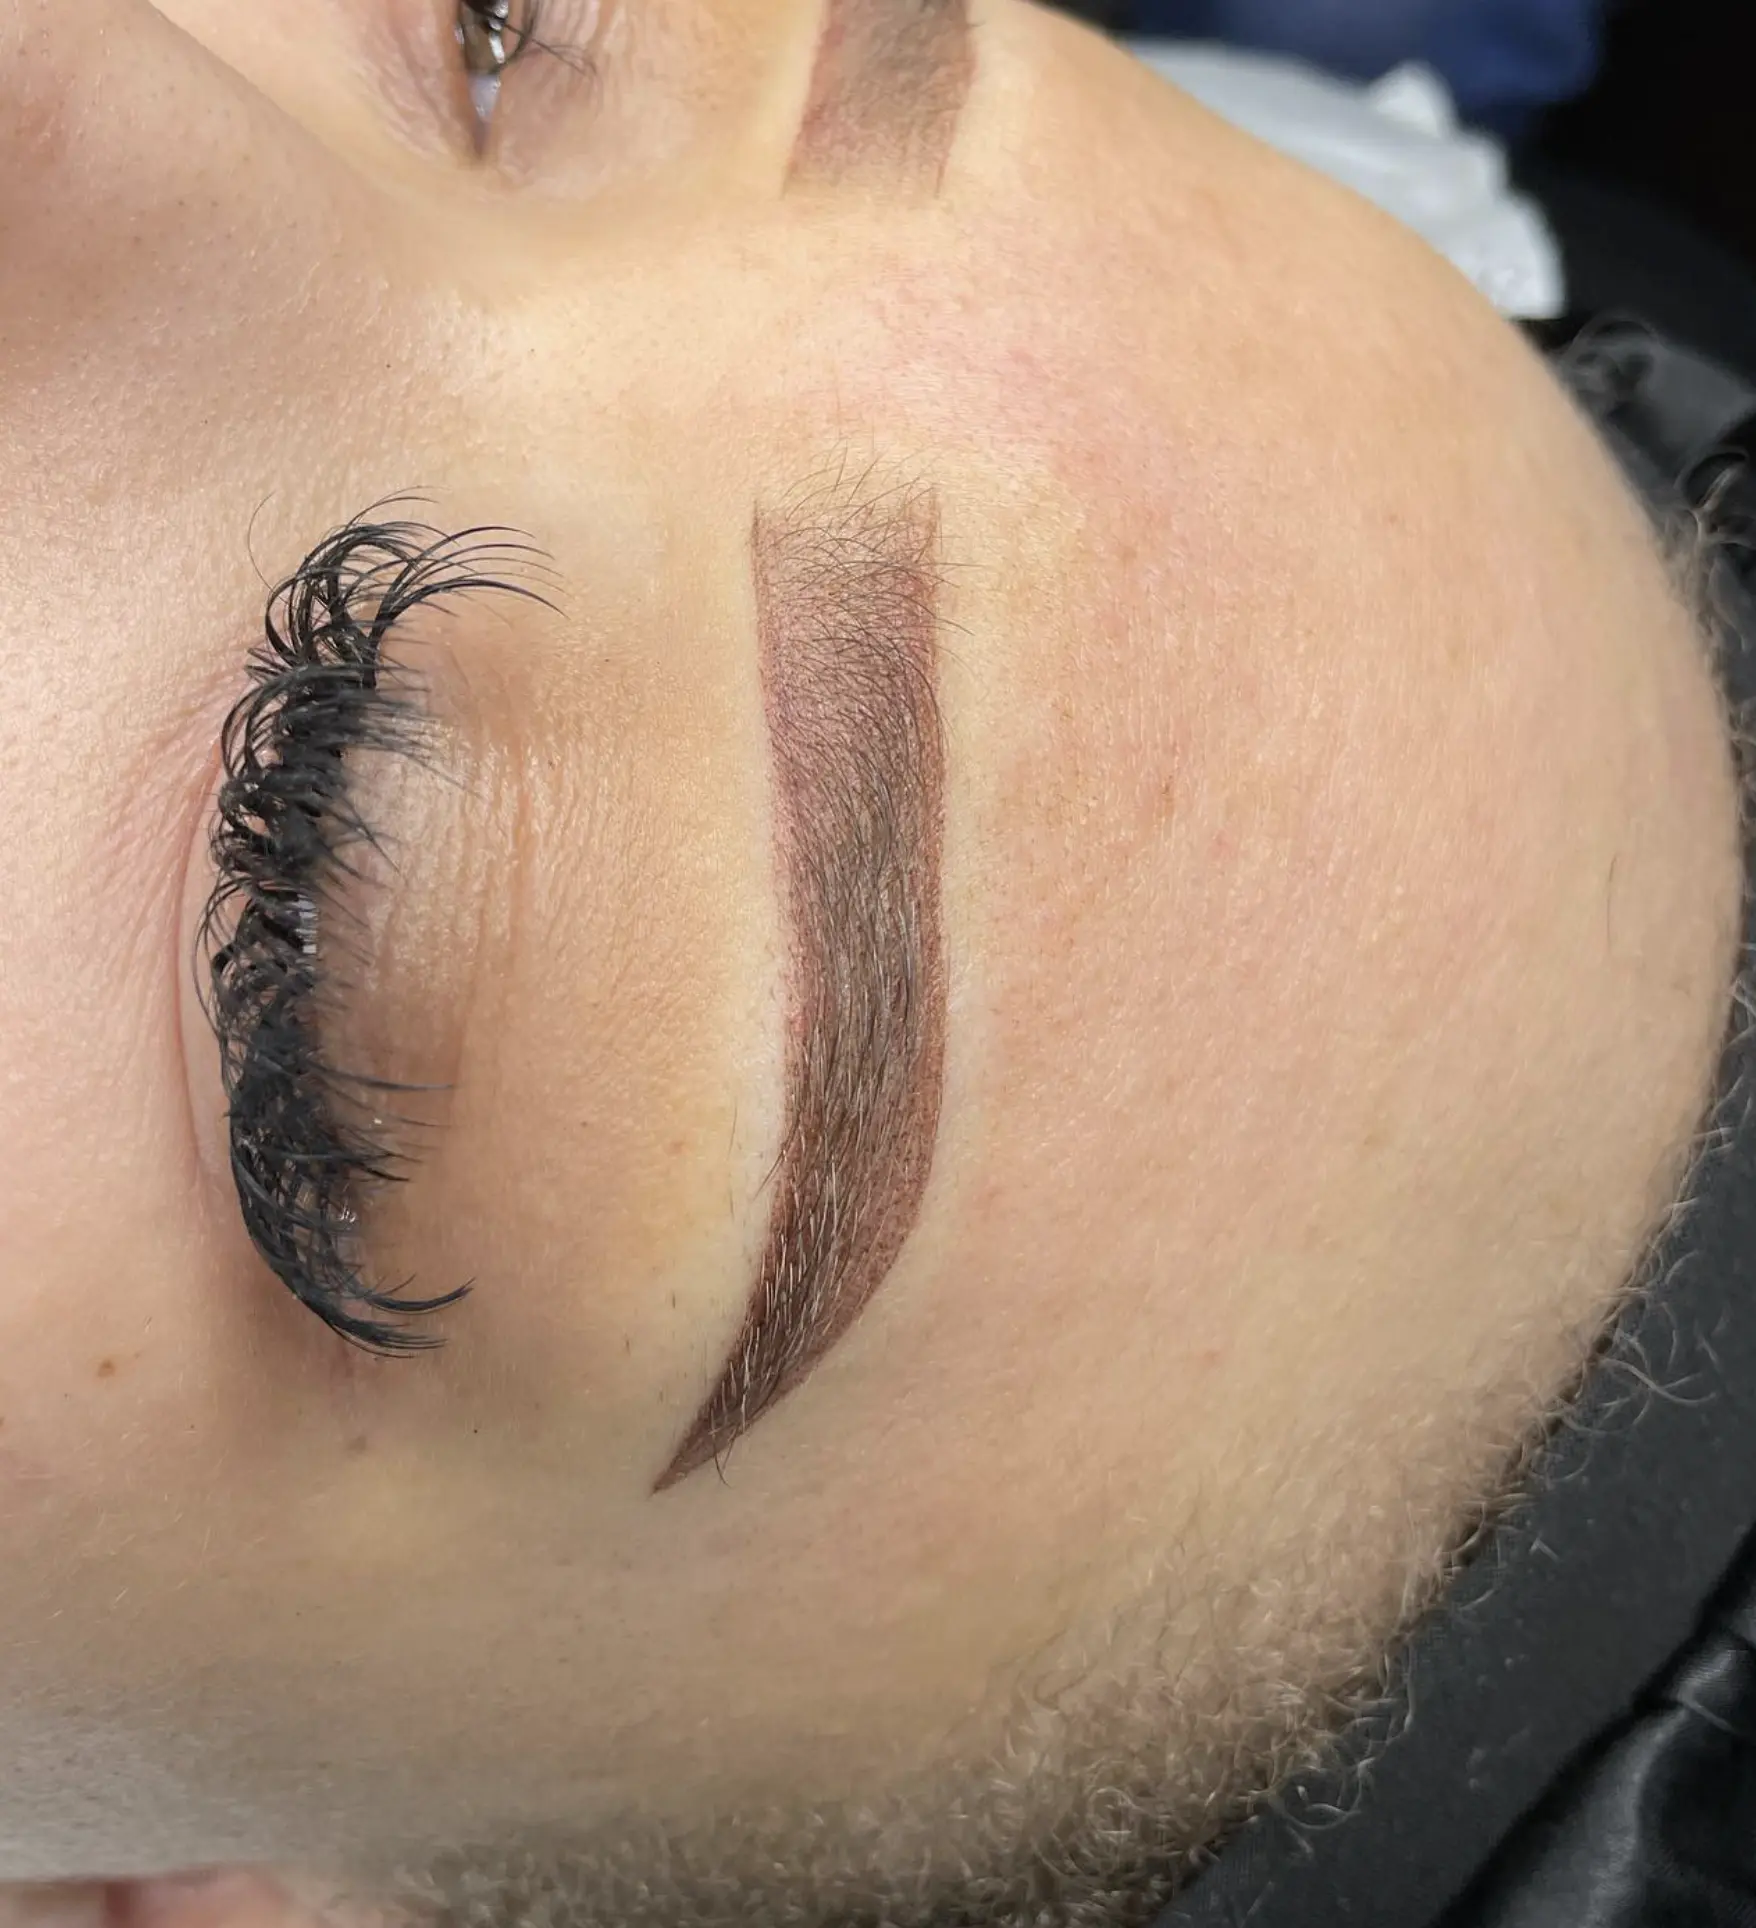
Fresh Brows
Day 1–2
Brows look darker, more defined, and a bit bold.
Keep area clean, apply healing balm sparingly.
Scabbing & Peeling
Day 3–7
Light flaking, scabbing, and patchiness appear.
Don’t pick — let flakes fall naturally.
Ghosting Phase
Week 2
Brows may look faded or too light.
Be patient, pigment resurfaces.
Colour Settling
Weeks 3–4
Pigment evens out, tone becomes more natural.
Continue gentle skincare, avoid heavy makeup.
Healed Result
Week 6+
Final colour and shape revealed.
Book touch-up session if needed.
Yes, your brows will look “too dark” at first.
Then they’ll look “too light.”
Finally, they’ll balance out. The skin has to shed, repair, and re-pigment before you see the final shade.
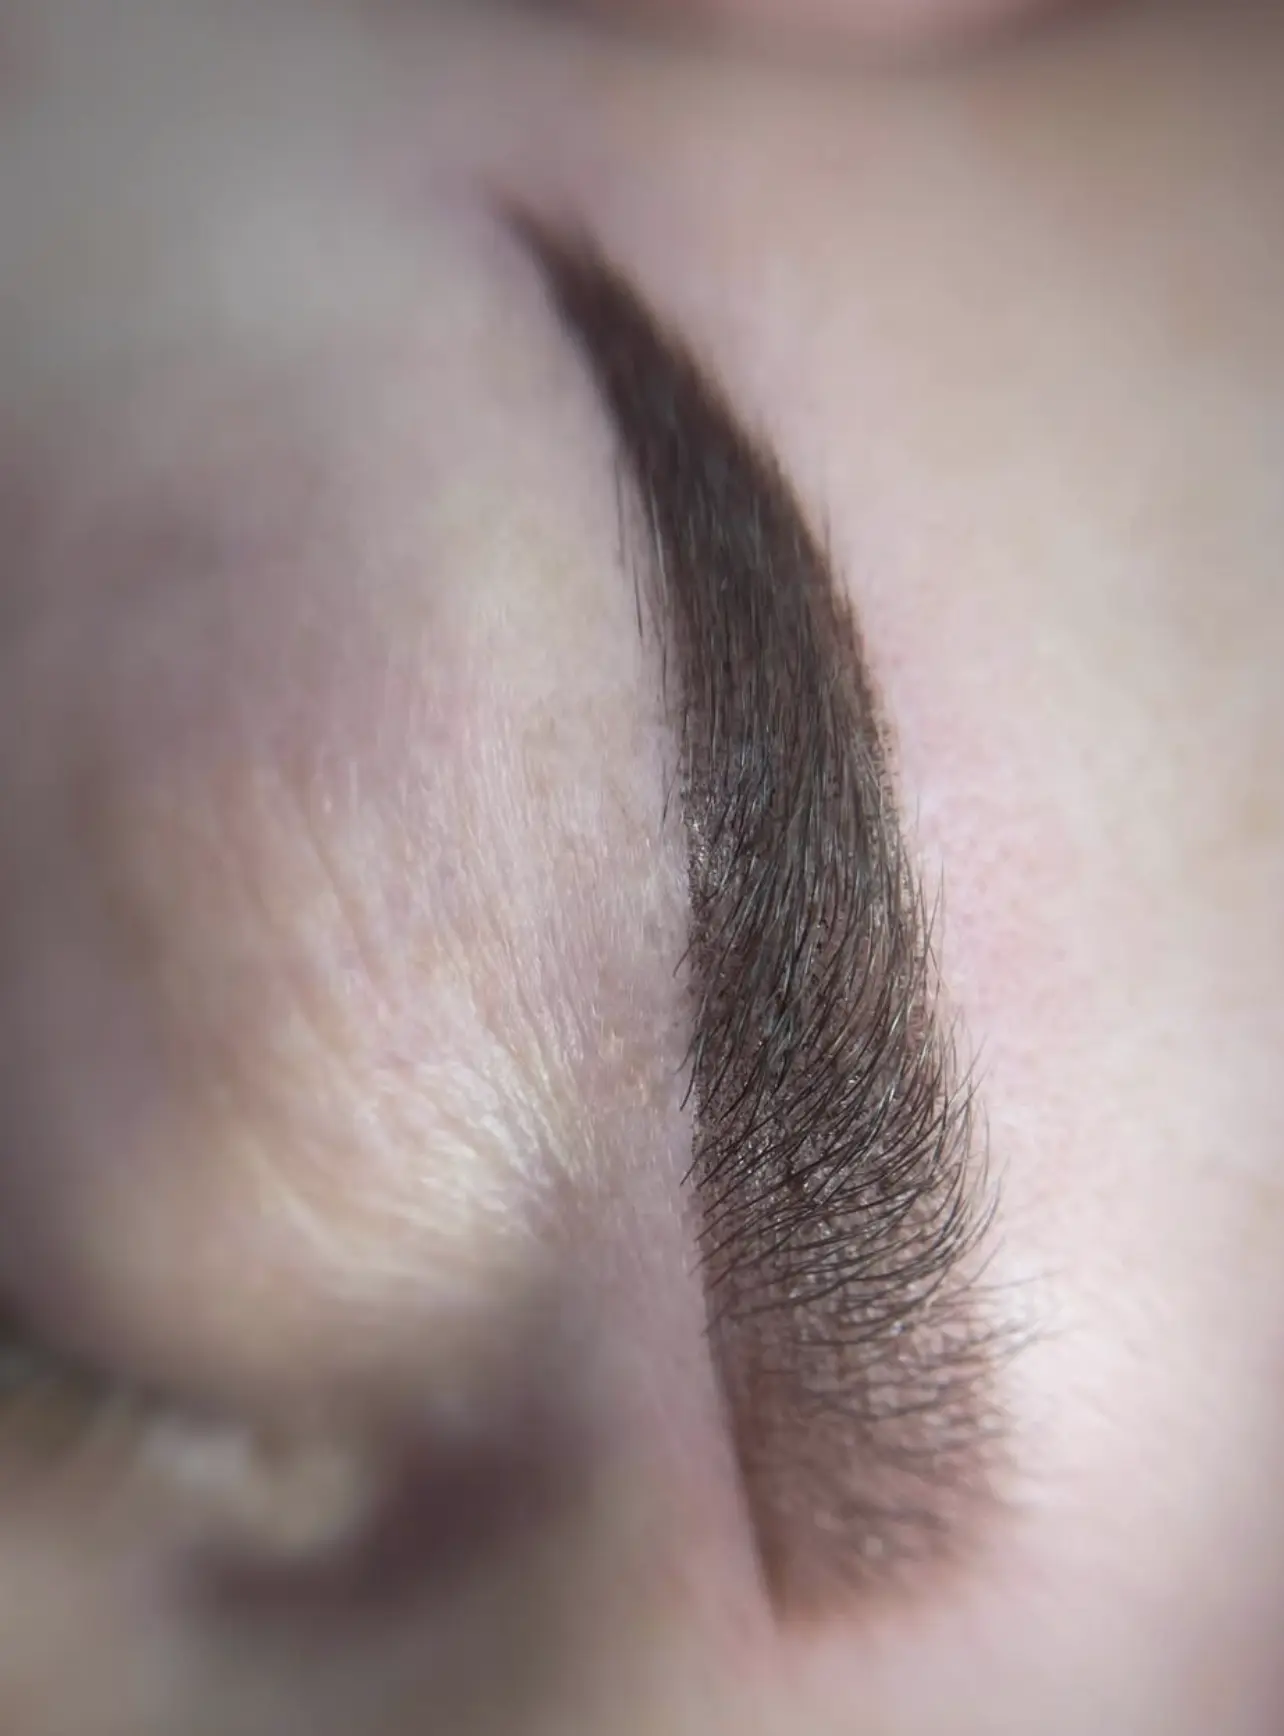
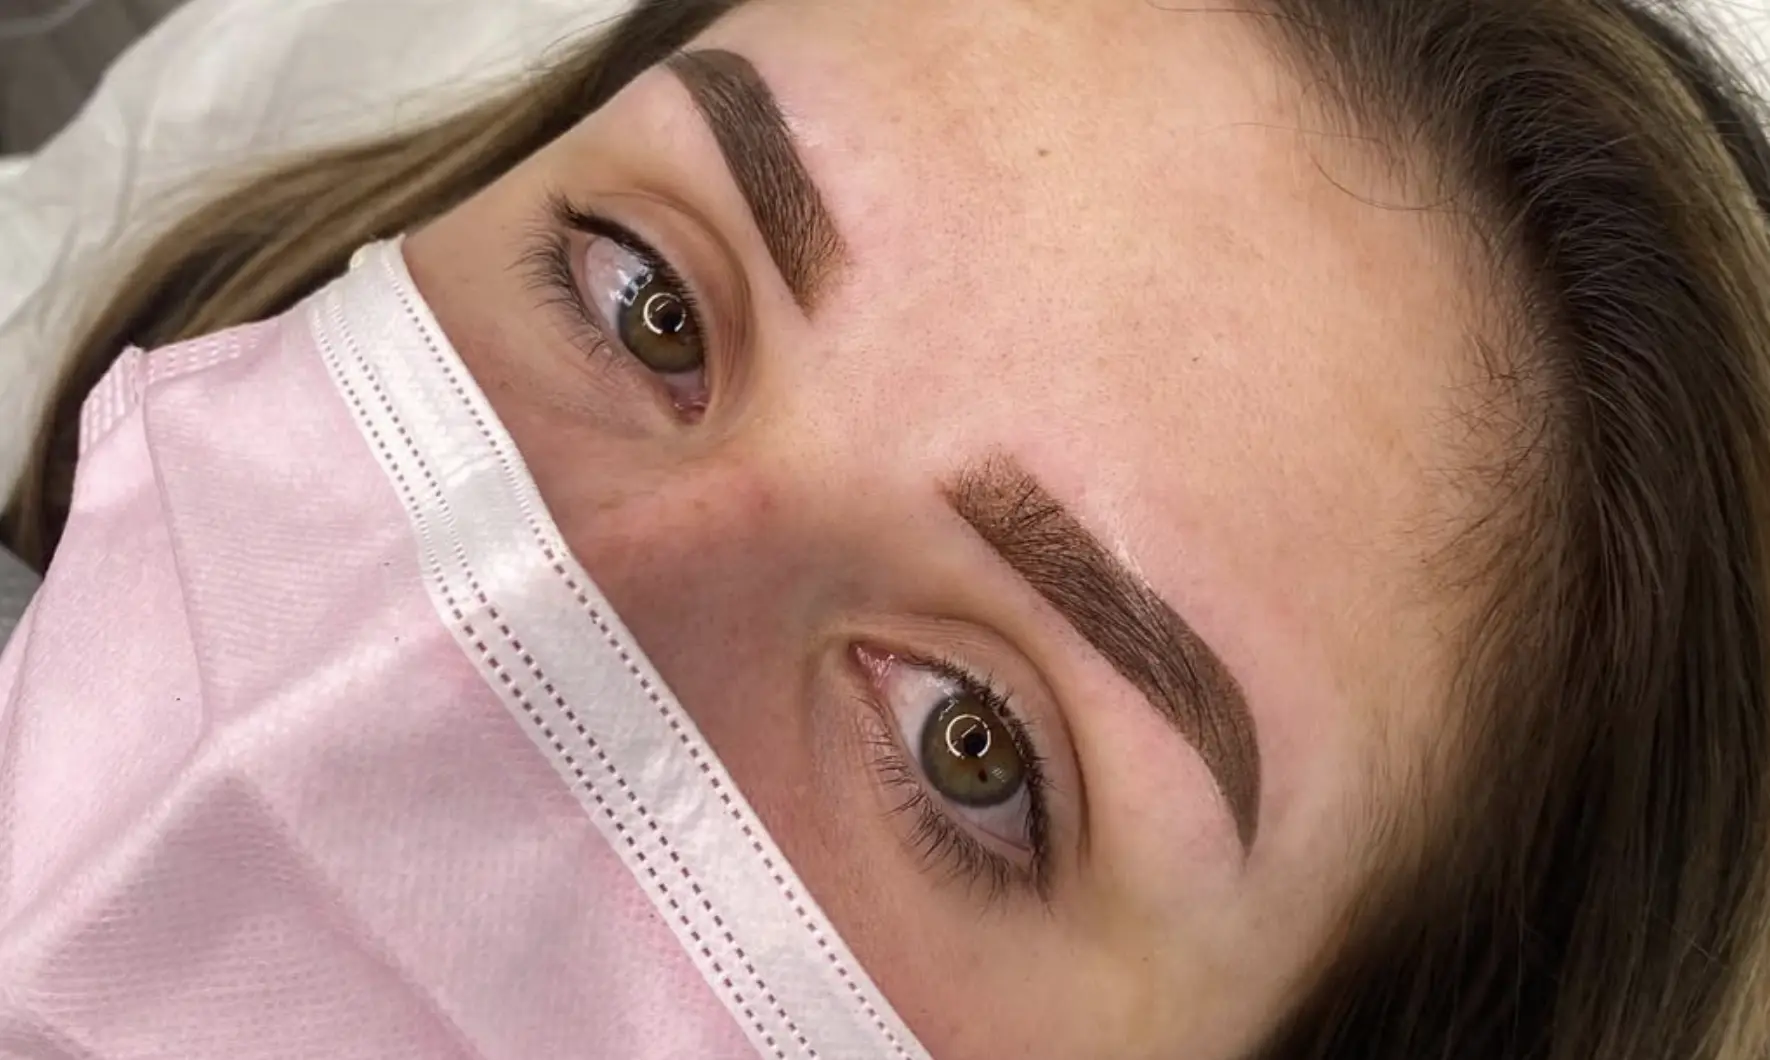
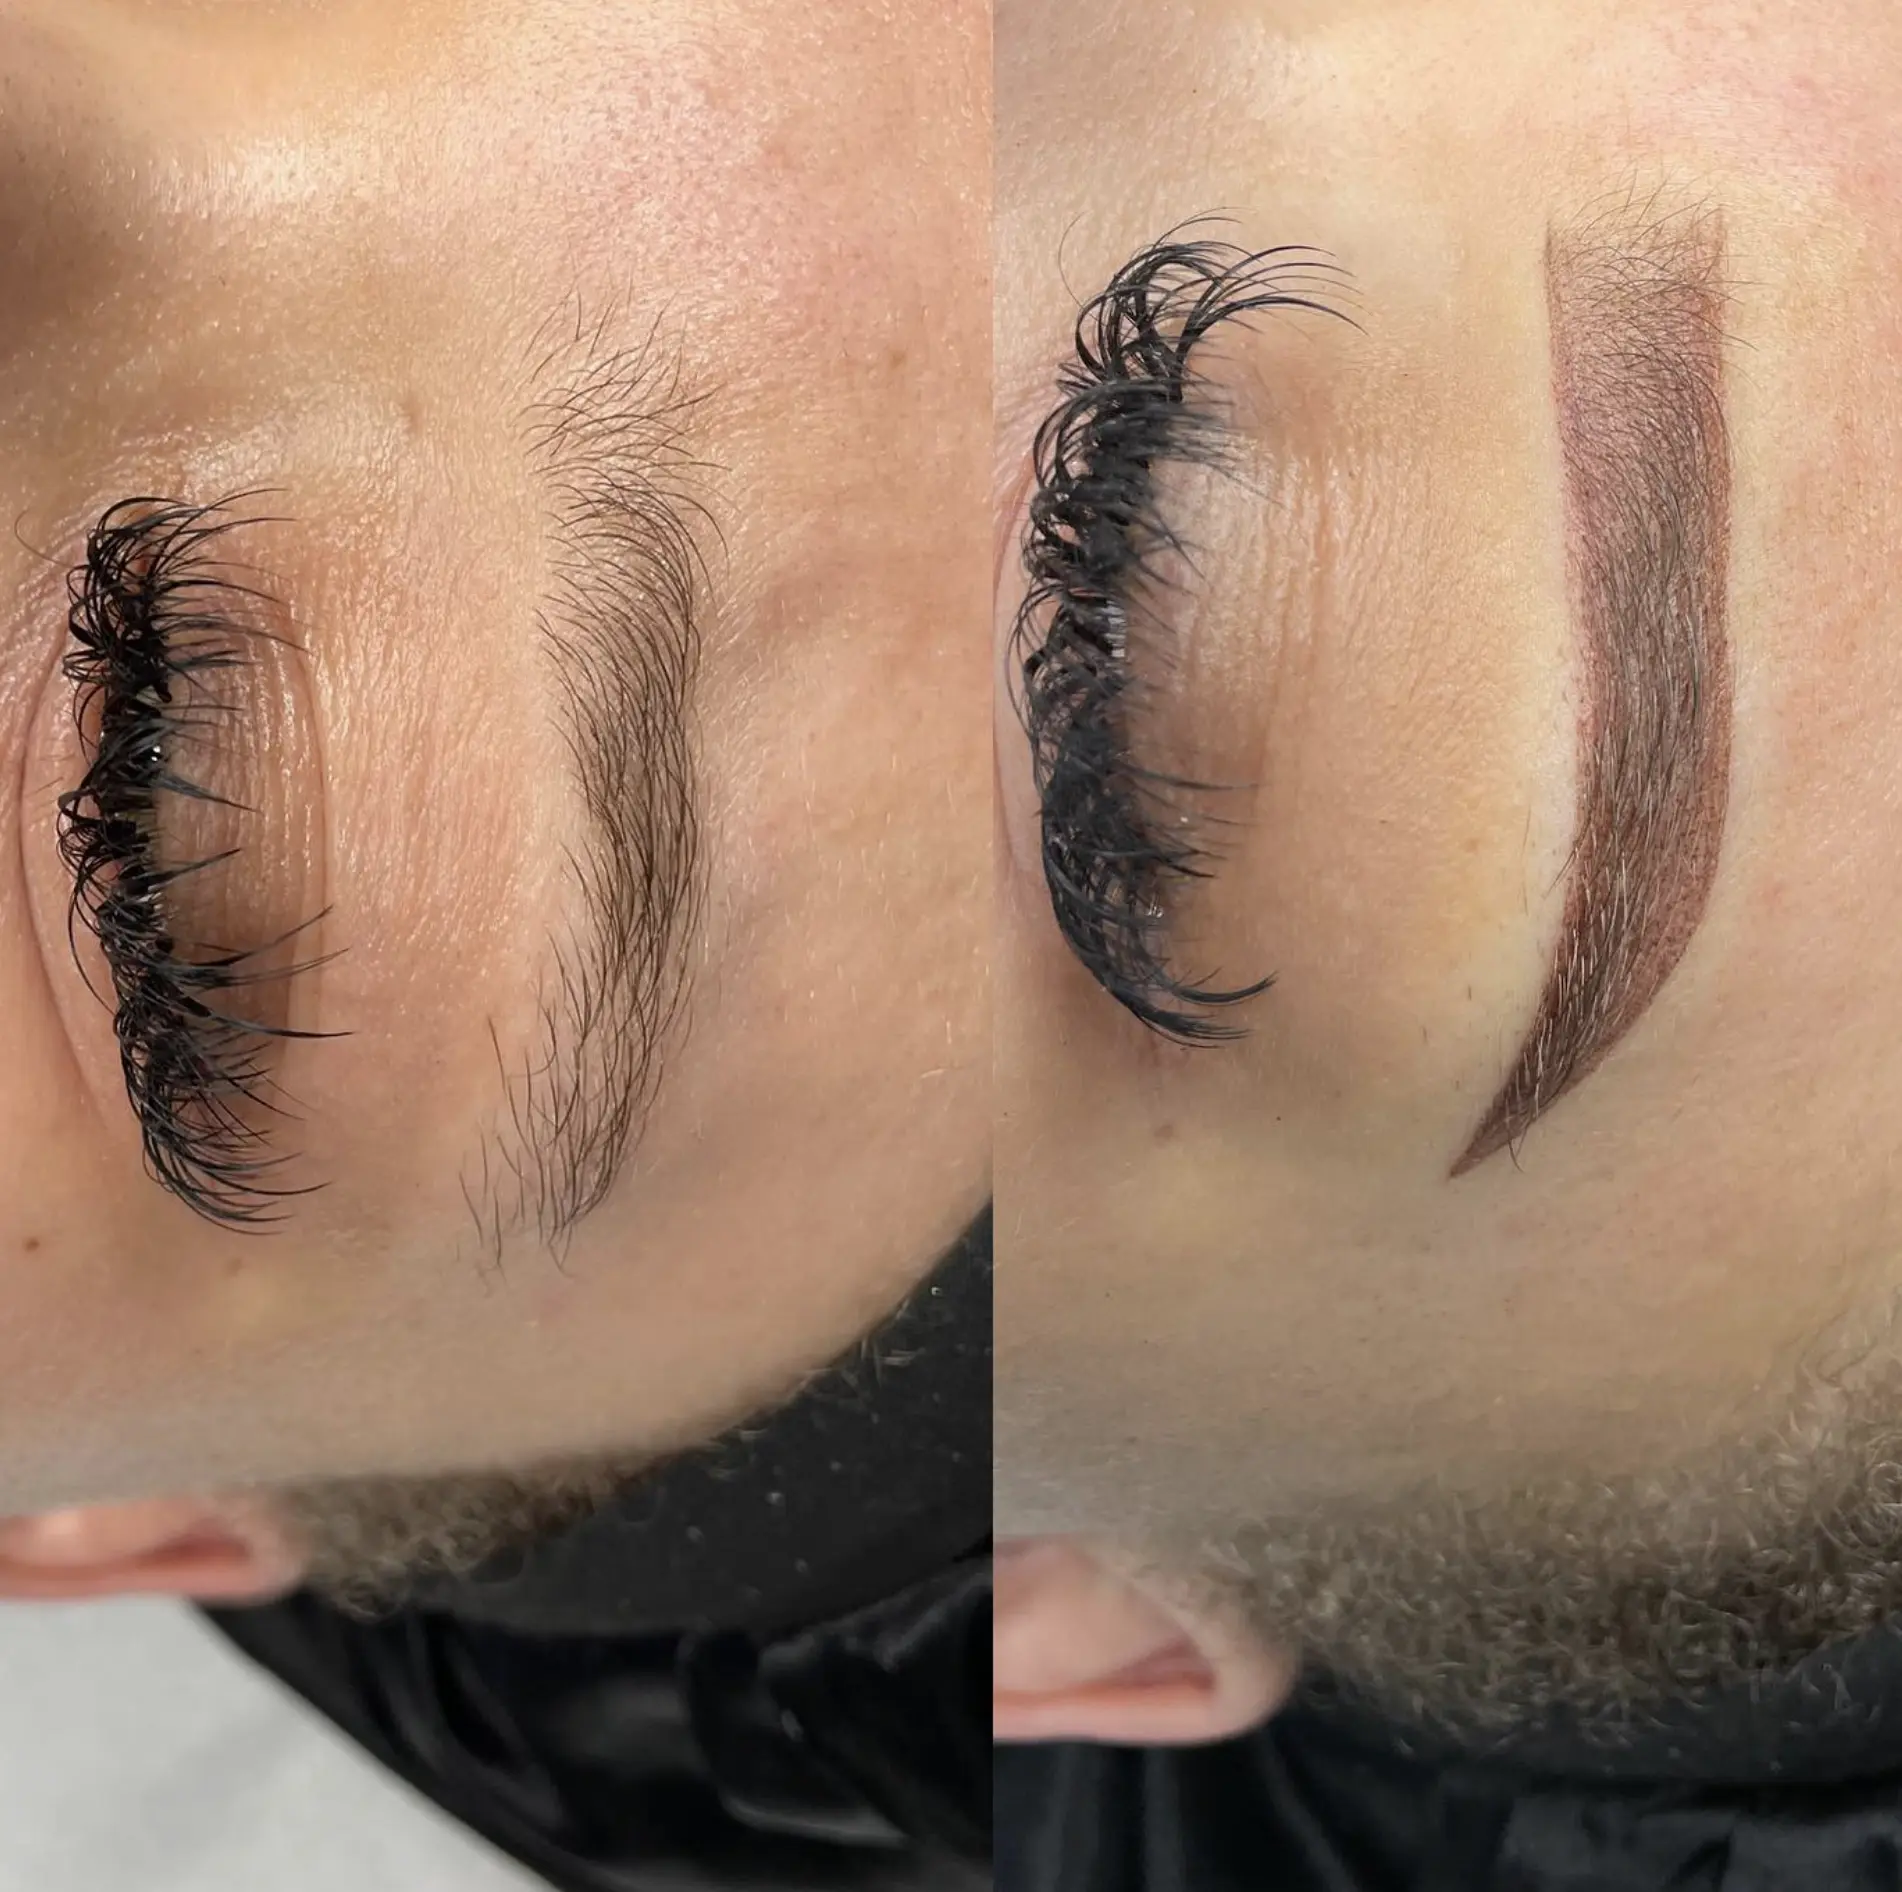
The First 48 Hours — Fresh but Bold
Straight after your appointment, your brows will look crisp, bold, and about 40% darker than the healed result. This is completely normal — the pigment is still sitting close to the skin’s surface.
At Cosmetic Tattoo Studio Brisbane, we always remind clients not to panic at this stage. It’s the “new haircut” effect: you notice every detail, but soon enough, it softens into something natural.
Ombre Eyebrow Aftercare Methods
The methods for ombre eyebrow aftercare encompass distinct strategies to ensure proper care post-procedure.
Primarily, there are two established methods of ombre eyebrow aftercare — dry and wet. The distinction pertains to whether the treated area should remain moisturized during healing.
Based on your skin type, your technician will recommend the most appropriate aftercare approach and provide comprehensive guidelines. It’s paramount to strictly adhere to these directives to ensure the healing process is seamless and the outcome is as envisioned.
Comparison Table: Ombre Eyebrow Aftercare Methods
Aftercare Method
Description
Pros
Cons
Best For
Dry Healing
No ointments, just gentle cleansing and keeping brows dry until healed.
Low maintenance, avoids clogging pores.
Can feel tight/itchy, higher risk of scabbing pulling pigment.
Oily skin types who naturally stay moisturised.
Ointment Healing
Applying a thin layer of a healing balm (supplied by your artist) 2–3 times daily.
Keeps brows hydrated, reduces itching and flaking.
Over-application can suffocate skin, cause poor pigment retention.
Normal to dry skin, or clients in drier climates.
Wet Healing
Cleaning brows with sterile wipes/cotton pads and reapplying ointment frequently.
Reduces scabbing, can lead to smoother colour retention.
Higher maintenance, not suitable for sensitive skin.
Athletes, people who sweat more, or those prone to heavy flaking.
Hybrid Healing
First 24–48 hours dry, then switch to light ointment.
Balanced approach, combines benefits of both dry and ointment methods.
Requires careful timing and consistency.
Most Brisbane clients — works across skin types in humid weather.
Natural/Minimalist Healing
Avoiding any product except gentle cleansing, letting skin regulate itself.
Simplest routine, avoids product reactions.
Higher chance of patchiness, no relief from itching.
Sensitive skin or clients with history of allergies.
👉 In Brisbane, hybrid healing tends to give the best results for most people because humidity can dry brows quickly in the first few days, but balm later helps prevent over-flaking. However, your brow artist should always personalise aftercare instructions to your skin type and lifestyle.
What can one anticipate during the recovery of ombre eyebrows?
The post-treatment journey ofombre eyebrows can be likened to an emotional seesaw. It’s pivotal to grasp that the immediate post-procedure appearance of your eyebrows isn’t the final result. Be prepared for minor discomfort and unease.
Immediately post-treatment, your eyebrows might appear overly dark and stark. This is a standard reaction. The formation of scabs might instil doubt regarding the procedure. Subsequently, your brows might seem too faint and uneven. Recognize that these fluctuations are integral to the ombre brow healing process.
Bear in mind that the ombre eyebrow procedure is a two-step process. The subsequent obligatory session is meant to rectify any inconsistencies or irregularities during the healing phase. Upon the conclusion of the healing timeline, if executed proficiently, you’ll be elated with your rejuvenated eyebrows.
Aftercare Tips That Make or Break Healing
Following the right ombre brow aftercare tips can make all the difference. Here’s what to do:
Keep brows dry for the first 24 hours.
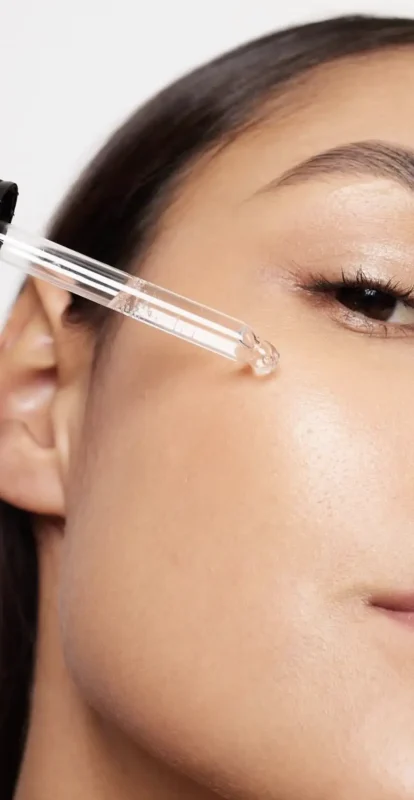
Apply the healing balm provided, but not too thickly.
Avoid heavy sweating, saunas, and swimming for 7–10 days.
Skip active skincare (retinols, acids) around the area until fully healed.
Always wear SPF on brows once healed to slow fading.
The clients who follow aftercare instructions almost always heal with softer, even colour compared to those who cut corners.
Ombre Brow Healing Timeline (Day 1 – Week 6)
Timeline
What You’ll See
What It Means
What To Do
Day 1–2
Brows look bold, dark, and crisp. Slight redness or swelling possible.
Pigment is fresh and sitting on top of the skin — colour looks about 40% darker than the healed result.
Keep area clean, avoid touching, apply thin layer of balm if advised.
Day 3–4
Flaking starts, brows feel tight. Small scabs appear.
Skin is repairing; flakes lifting will make brows look uneven.
Don’t pick. Let scabs fall naturally.
Day 5–7
Peak peeling. Brows may look patchy, lighter in some spots. Itching is common.
Normal part of healing — pigment under flakes may lift temporarily.
Continue gentle cleansing and balsam directed.
Day 8–10
“Ghosting” phase — brows may look too light or like pigment is gone.
New skin forms over pigment, hiding colour temporarily.
Stay patient — pigment resurfaces later.
Day 11–14
Pigment begins to return, brows look softer.
Skin regenerates, colour starts to balance.
Avoid makeup or active skincare near brows.
Weeks 3–4
Brows even out, colour looks more natural (40–60% lighter than Day 1).
Pigment has settled into skin, tone softens.
SPF on brows if outdoors; continue avoiding harsh products.
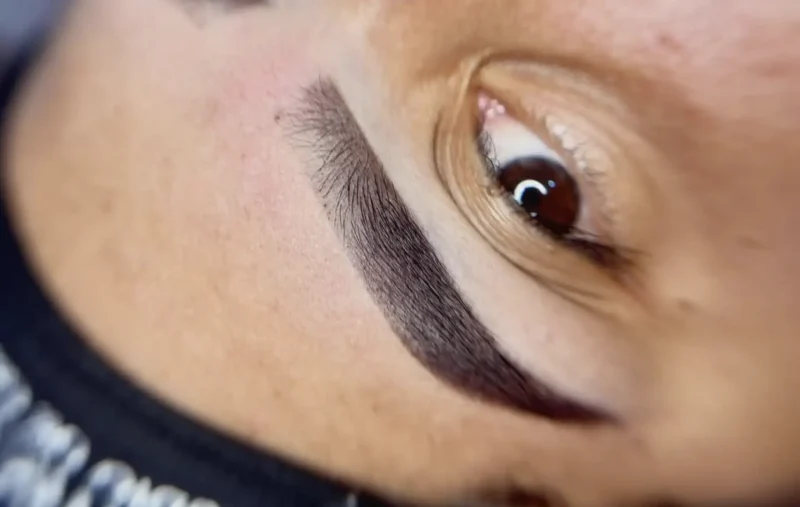
Weeks 5–6
Fully healed result visible. Brows look soft, shaded, and balanced.
Final colour revealed, ready for touch-up if needed.
Book touch-up session with your artist.
On Face Washing
While you can’t forgot washing your face for six weeks, exercise caution to maintain the procedure’s efficacy and sidestep abrasive products.
Avoid directly cleansing the brow region for two weeks or until the primary healing concludes. Refrain from makeup application in the treated area, ideally on the entire face.
Upon the conclusion of the scabbing phase, you can cleanse your face, but be gentle around the brows. Also, scrutinize your choice of cleansers, as specific products might undermine the ombre eyebrow results.
For clarifications regarding the ombre eyebrow recovery and maintenance, liaise with your technician.
Avoiding Infection During Healing
While ombre brows are safe when done by a qualified artist, infections can occur if aftercare is ignored. Signs of infection include swelling, pus, and severe redness beyond the first few days.
At Cosmetic Tattoo Studio Brisbane, we use medical-grade hygiene practices, sterile needles, and disposable tools to eliminate risk. The most common cause of infection is touching your brows with unclean hands — so hands off.
Touch-Up Appointments — Why They Matter
Your touch-up session isn’t optional; it’s part of the process. This appointment allows us to refill faded spots, adjust tone, or correct asymmetry that appeared during healing.
Without it, you may end up with patchy brows that fade faster. Think of it as sealing the deal for long-term retention.
Trust the Process
Healing isn’t glamorous, but it’s necessary. If you know what to expect, you’re less likely to panic when your brows look patchy or light.
Book with an experienced artist, follow aftercare instructions, and give your skin time. The ombre brow healing process rewards patience with soft, natural brows that save you time in front of the mirror every single morning.
artist
Since 2016, Anastasia has been shaping confidence one treatment at a time. With years of expertise in the professional tattooing industry, she’s a certified and fully licensed cosmetic tattoo specialist — holding all the necessary qualifications for permanent makeup across both Europe and Australia.
Clients love her not just for her steady hand, but for her honest approach and ability to customise every set of brows, lips, or liner to suit the person sitting in the chair. At Cosmetic Tattoo Studio Brisbane, Anastasia combines precision, colour theory, and an eye for balance to deliver results that look natural today — and stay flattering for years to come.
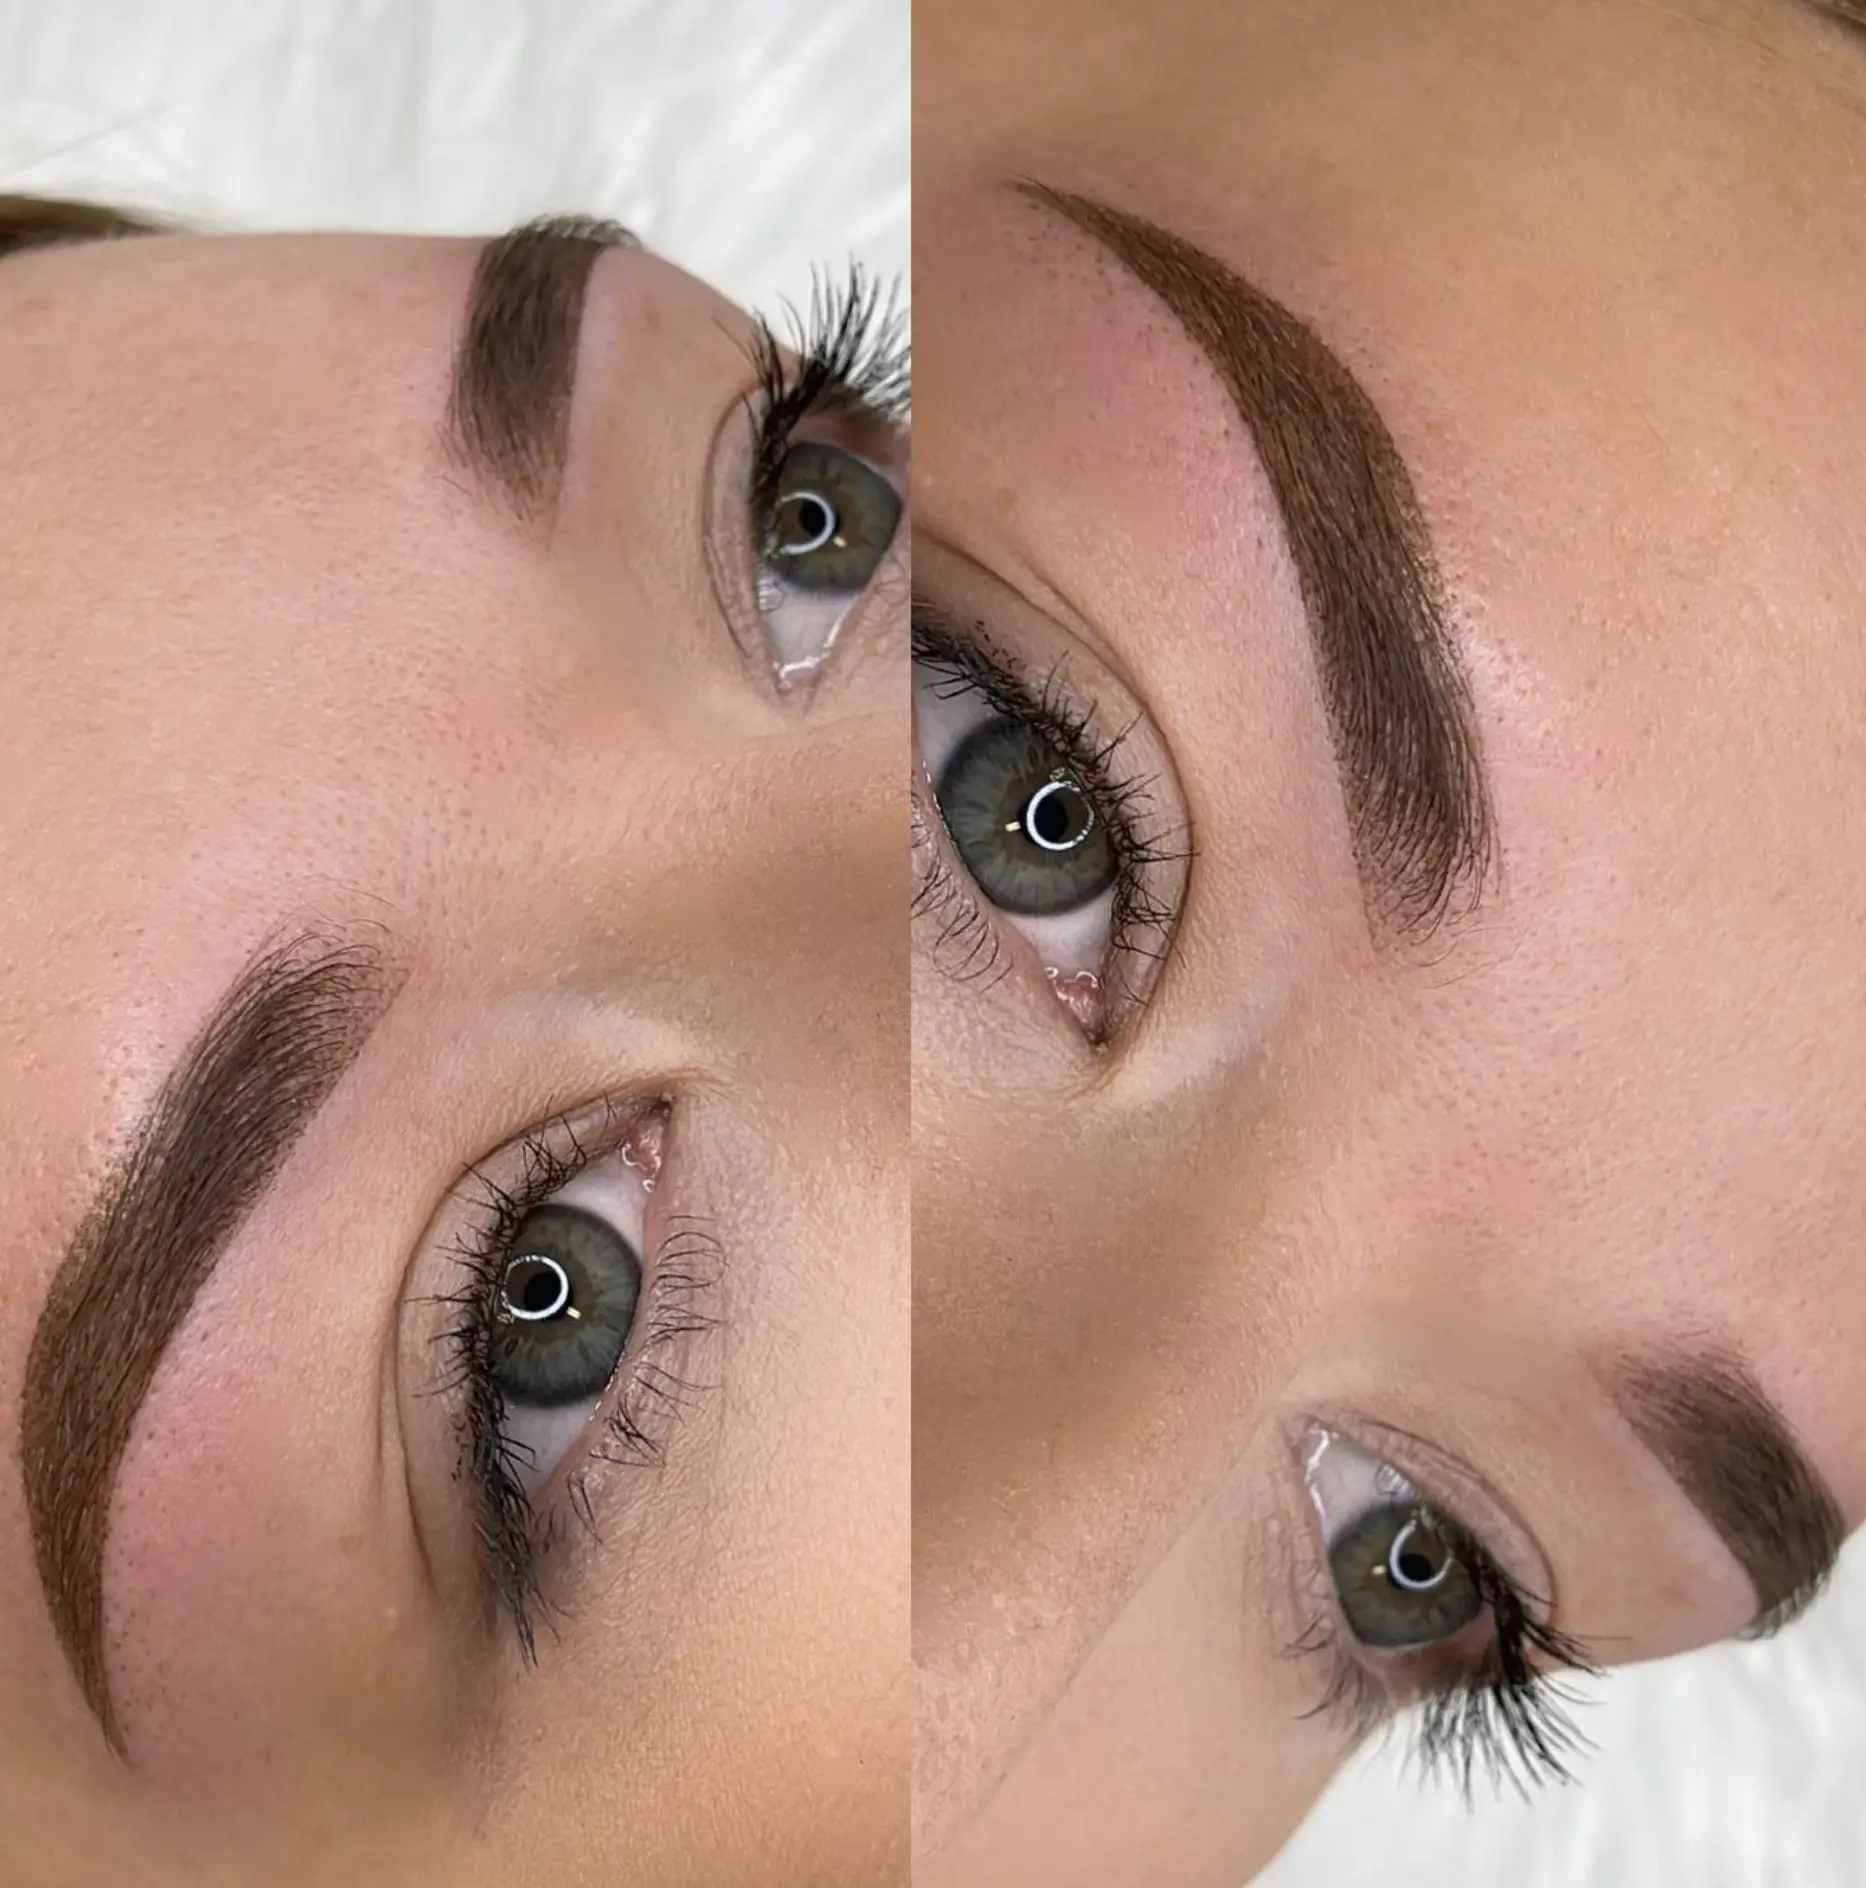
The average ombre brow healing process takes around 4–6 weeks. In the first two weeks, you’ll notice scabbing, peeling, and fading, while the pigment gradually settles. By week six, the colour softens into its final, natural shade.
Fresh ombre brows appear darker and more intense immediately after treatment because the pigment is still sitting on the skin’s surface. As healing progresses and the top skin layers shed, the brows lighten by up to 40%, revealing the true shade.
It’s best to avoid applying makeup directly on or around your brows for at least 10–14 days after the procedure. This prevents infection, irritation, or pigment disruption. You can safely return to your normal makeup routine once flaking has stopped.
You can support a smooth powder brow recovery by following aftercare instructions carefully: keep the brows clean and dry, avoid picking scabs, use a recommended healing ointment, and stay out of the sun or swimming pools until fully healed.